Are you a gaming enthusiast looking to build your own gaming PC, but worried about the cost? Fear not! This comprehensive guide will help you navigate the process of building a gaming PC on a budget. We'll delve into the nitty-gritty of choosing the right components, finding the best deals, and assembling your dream machine without breaking the bank.
Understanding Your Gaming Needs
Before you start buying components, it's crucial to understand your gaming needs. Not all games require high-end hardware. Some games run smoothly on mid-range systems. Therefore, knowing the type of games you want to play will guide your hardware selection process.
Research the recommended system requirements for your favorite games. These requirements provide a good starting point for building your gaming PC. They outline the type of processor, graphics card, memory, and storage you need for an optimal gaming experience.
However, don't just focus on the current requirements. Consider future game releases as well. You want a system that can handle new games for at least a few years. This approach ensures that your investment remains relevant for a longer period.
Choosing the Right Components
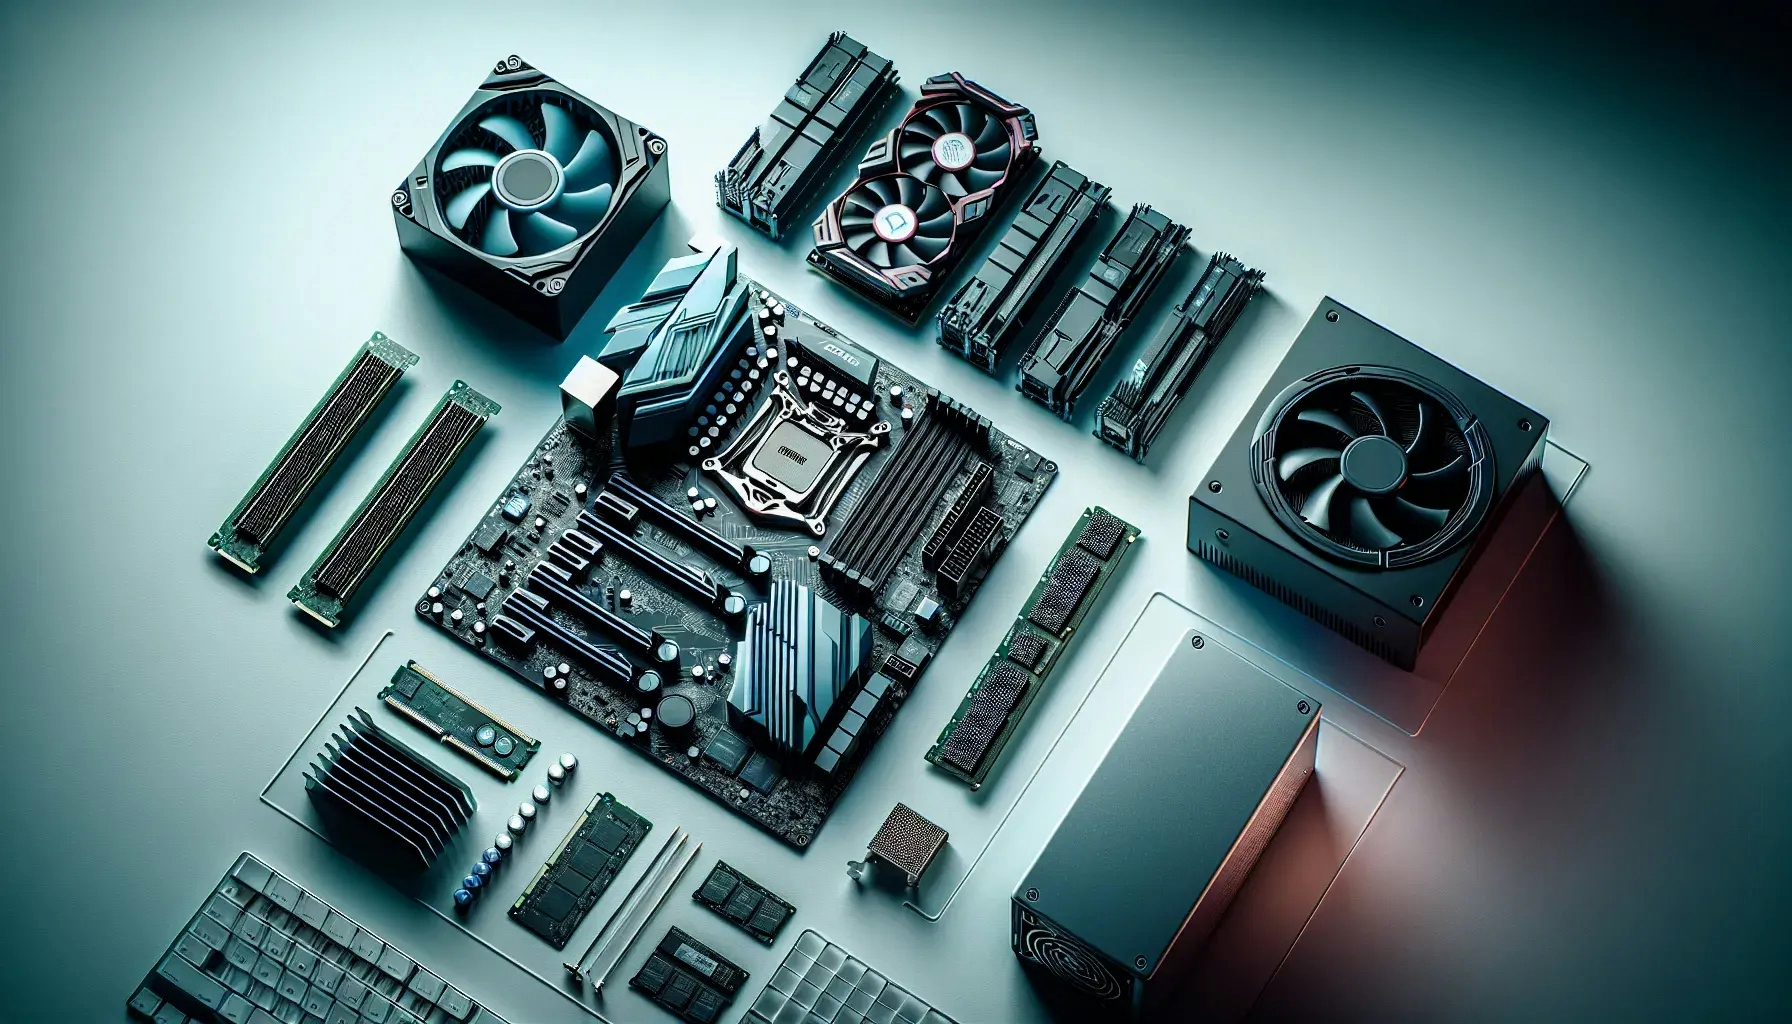
The heart of any gaming PC lies in its components. These include the processor (CPU), graphics card (GPU), memory (RAM), storage (SSD or HDD), power supply unit (PSU), and the motherboard.
When it comes to the CPU, you don't always need the latest and greatest. Look for a balance between performance and price. AMD's Ryzen series offers excellent value for money, with strong performance at a lower price point than many Intel counterparts.
The GPU is arguably the most critical component for a gaming PC. It's responsible for rendering the graphics in your games. However, you don't need to splurge on the most expensive GPU. Nvidia's GTX series offers excellent performance at a reasonable price.
RAM is another crucial component. For gaming, 8GB is the bare minimum, but 16GB provides a more comfortable buffer. As for storage, an SSD is faster and more reliable than an HDD, but it's also more expensive. A combination of both can provide a good balance between speed and storage capacity.
The PSU is often overlooked, but it's vital for a stable system. A good quality PSU ensures your components receive clean, stable power. Lastly, the motherboard ties everything together. It doesn't directly affect performance, so you can save money here by choosing a budget-friendly option that supports your chosen CPU and RAM.
Finding the Best Deals
Once you've decided on your components, it's time to start shopping. However, don't just buy the first thing you see. Take your time to compare prices across different retailers. Online platforms like Amazon, Newegg, and eBay often have deals and discounts on various components.
Sign up for newsletters and alerts from these retailers. They often send out notifications about sales and discounts. Also, consider buying used components. Many gamers upgrade their systems regularly and sell their old components at a fraction of the original price. These used parts can still have plenty of life left in them and can save you a significant amount of money.
Assembling Your Gaming PC
Now that you have all your components, it's time to assemble your gaming PC. This process might seem daunting, but with a little patience and the right tools, you can do it.
Start by preparing your workspace. You'll need a clean, well-lit area with plenty of room to work. Gather your tools - a Phillips-head screwdriver is essential. Also, have an anti-static wrist strap to prevent damaging your components with static electricity.
Next, install the CPU on the motherboard. Apply thermal paste and attach the cooler. Then, install the RAM in the appropriate slots. After that, mount the motherboard in the case, and install the PSU. Connect the necessary cables from the PSU to the motherboard.
Install the storage drives in the designated slots or bays in the case. Then, install the GPU in the appropriate slot on the motherboard. Connect all remaining cables, including those for any case fans, the front panel connectors, and any peripherals.
Installing the Operating System and Games
With the hardware assembled, it's time to install the operating system (OS). Windows 10 is the most popular choice for gaming, but there are free alternatives like Linux that can also run many popular games.
Once the OS is installed, update it to the latest version. Then, install the drivers for your components. These are usually available on the manufacturer's website.
After setting up the OS and drivers, you can start installing your games. Platforms like Steam, Epic Games Store, and Origin offer a vast library of games, often with sales and discounts.
Optimizing Your Gaming PC
After installing your games, it's time to optimize your system for the best performance. This process involves tweaking settings in your OS, graphics card, and individual games.
In the OS, ensure that power settings are set to 'High Performance'. In the graphics card settings, optimize for performance over quality. In your games, adjust the graphics settings to match your hardware. Lowering settings like resolution, shadows, and textures can significantly improve performance on budget systems.
Achieving Gaming Bliss on a Budget
Building a gaming PC on a budget may seem like a daunting task, but with careful planning and smart shopping, it's entirely achievable. By understanding your gaming needs, choosing the right components, finding the best deals, and optimizing your system, you can enjoy a fantastic gaming experience without emptying your wallet. Happy gaming!

